Besides stained glass cookies, this is another new cookie I baked this year for Christmas. I got the recipe from Just A Pinch Recipes. It’s quite simple, although I needed to add about 1/2 to 1 cup more flour because the dough was just too wet and sticky. I think the reason might be that I cheated on softening the butter– I use the quick microwave way to soften, and I warmed it up a bit too long. Anyway, lesson learned…
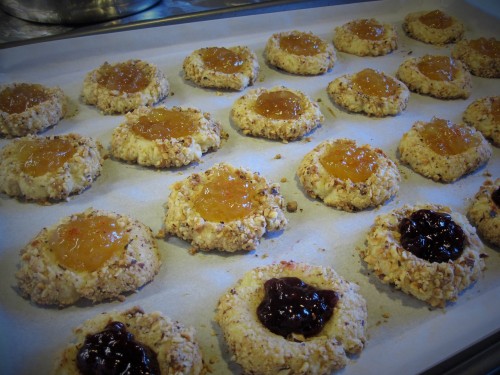
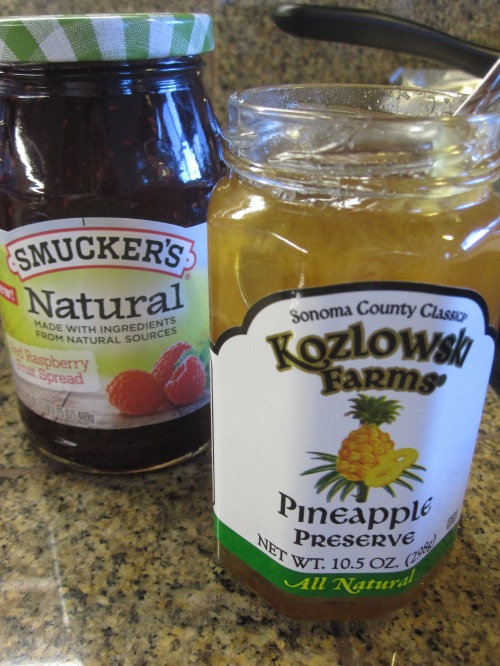
Some thumbprint cookie recipes suggest filling the jam on top of unbaked cookie dough, while others say add the jam after the cookies are baked. Well, I did the hybrid part– baked cookies, added jam, and baked for a few more minutes. I did this because I was hoping the extra baking time will dry out the jam a bit more, so the jam filling won’t be as thin runny and more on the thick sticky side. The results: No much difference. The main thing is the jam itself– I used pineapple preserve and raspberry jam. After final baking, while pineapple jam was still thick and nice in the thumbprint area, the raspberry jam was starting to overflow the edge of the cookies (it gave a smooth touch on the jam surface though). If you want a crunchier cookie texture, I suggest you bake the cookies and store in airtight container. Only add in the jam on the day of serving (you can add jam and bake a few more minutes if desired). Once the jam is filled, it will soften the cookies over time.
Thumbprint Cookies Recipe (adapted from Just A Pinch. Makes about 30 cookies)
Ingredients:
1/2 cup (1 stick, 4 oz) unsalted butter– softened
1/3 cup sugar
1 tsp vanilla extract
1 egg, separated
1 1/2 cup flour– add more later if needed
4 tbsp dry whole milk powder
1/4 tsp salt
3/4 cup chopped toasted hazelnuts
Method:
- Preheat oven to 350°F. Line a large baking pan with parchment. Combine flour, milk powder and salt.
- Cream butter with a hand mixer. Add sugar and cream until it’s fluffy. Mix in vanilla completely, then mix in egg yolk blend well.
- Use a spatula to mix in flour mixture, in a stir-and press motion, until the it forms a dough. Roll the dough into thin long log of 1 inch diameter. Cut into pieces and roll each piece into a 1 inch diameter ball.
- Whisk egg white in a bowl until it gets frothy. Place chopped hazelnut in a separate bowl.
- Dip each dough ball into egg white, then roll it in chopped hazelnut to cover completely. Place the dough on baking pan, about 2 inches apart. Use your thumb to press down the ball to make a deep indentation.
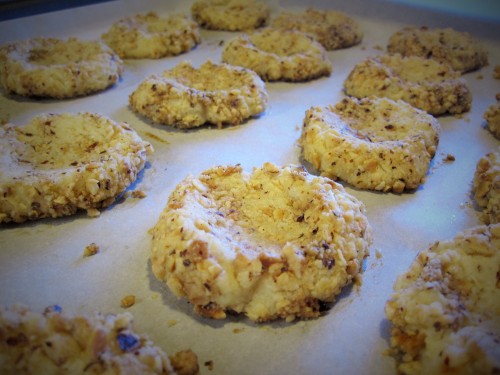
- Bake for 15-18 minutes. Remove from the oven but maintain oven temperature. If the cookies lost its indentation then press down further with a spoon to make indentation deeper (do it while the cookies are still hot).
- Place about 1/2 tsp of jam onto the indentation. Bake for another 5 minutes. Remove from the oven and cool on a rack. When cookies are cooled completely, store in air tight container, adding parchment paper between each layer to prevent jam sticking together.
Regina’s Note:
- Besides chopped nuts, you can also roll cookies in shred coconuts, sugar or simply none at all.
- Don’t be limited by sweet jams. Jalapeno jam, cream cheese (flavored or plain) can also be used to create different flavors. Be adventurous!
- For crunchier thumbprint cookies, just bake the cookies itself without jam and store in air tight container. Only fill in the jam on the day of serving.
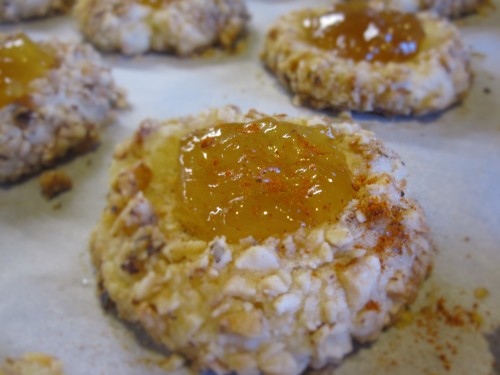
Thumbprint Cookies– I added some chili powder to some pineapple jam filled thumbprint cookies… looking for a sweet and spicy taste.
